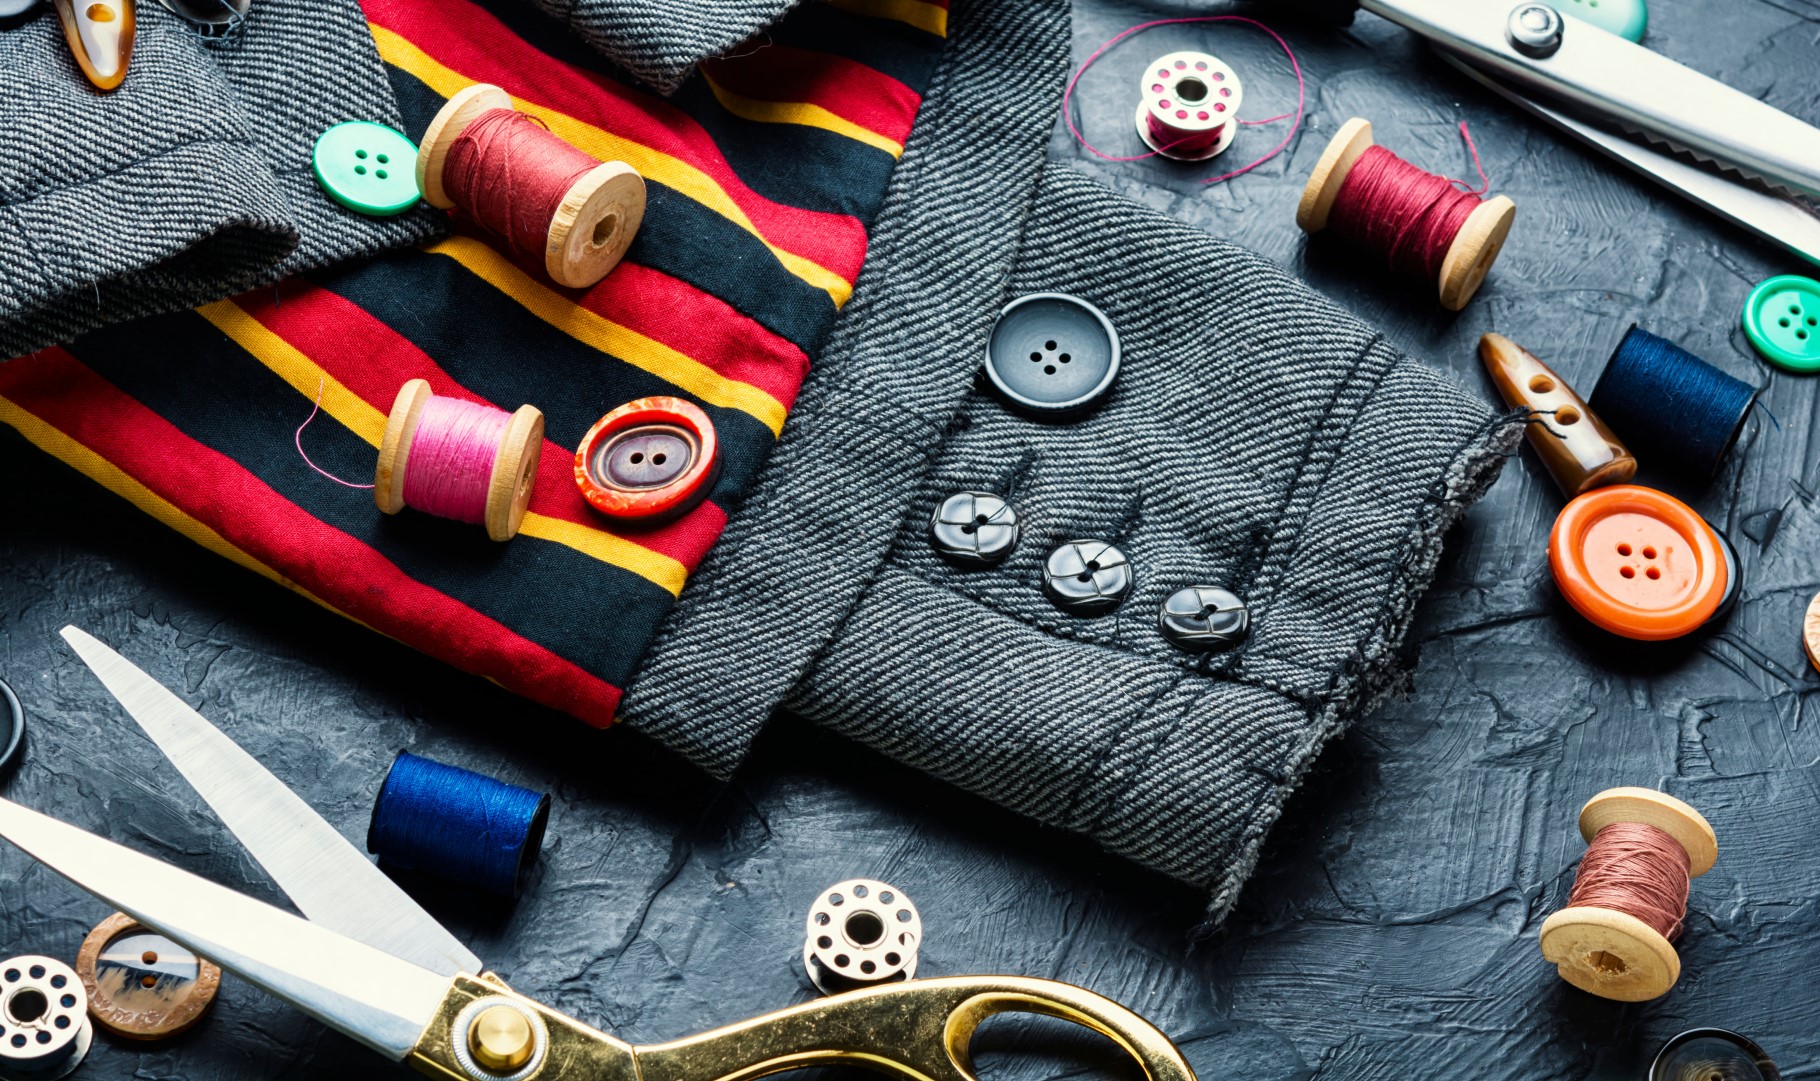
For a basic sewing kit to handle button replacement and small repairs, here’s what you should include:
- Needles: Get a small pack of sewing needles. These are sharp tools that you’ll use to guide the thread through fabric, and it’s helpful to have different sizes for different types of fabric.
- Thread: A few spools of thread in common colors like black, white, gray, and navy will cover most repairs. These colors blend well with lots of different clothes, but you can add more colors if you want.
- Small Scissors: Small, sharp scissors will make cutting thread and trimming fabric easy. Don’t use them for anything else, like paper, to keep them sharp for sewing.
- Buttons: Keep a few spare buttons. You can save extra buttons that come with new clothes or buy a small pack of basic ones in black, white, and clear.
- Thimble: This is optional, but it’s a small cover for your finger to help you push the needle through thick fabrics without poking yourself.
- Measuring Tape: A soft measuring tape will help you measure spaces between buttons or the length of a tear to make sure everything is even.
- Pins: Straight pins hold fabric in place while you sew. They’re especially helpful if you’re working on a larger repair.
- Seam Ripper: This tool is used to remove old stitches or mistakes without damaging the fabric. It’s handy for fixing sewing errors or taking out broken threads.
- Small Container: You’ll need a place to store all these items so they don’t get lost! A small box, tin, or zippered pouch will keep everything organized.
With these basics, you’ll be ready to tackle simple sewing tasks, like replacing buttons, fixing small holes, and sewing seams that have come undone.
Here’s a quick guide on sewing a replacement button:
-
Thread the Needle: Cut a piece of thread about 18 inches long, and thread it through the eye of the needle. Tie a knot at the end of the thread.
-
Position the Button: Place the button where the original one was. Hold it in place, making sure it lines up with the buttonhole on the opposite side.
-
Start Sewing: Push the needle from the back of the fabric to the front, coming up through one of the holes in the button. Pull the thread tight to secure it.
-
Sew Through Each Hole: If your button has two holes, move to the other hole and push the needle through to the back. For four-hole buttons, sew diagonally or in a crisscross pattern through all four holes, keeping the button snug but not too tight.
-
Secure the Button: After a few loops through each hole (about 4-5 times), bring the needle to the back of the fabric. Tie a knot to secure the thread, then trim any excess.
-
Check Your Work: Give the button a gentle tug to make sure it’s securely attached, and you’re all set!

