Sewing is a practical skill that everyone should learn. Whether you want to fix a tear in your favorite shirt, customize your clothes, or create something entirely new, knowing the basics of sewing will come in handy. In this guide, we’ll cover essential tools, basic techniques, and simple projects to get you started on your sewing journey.
Getting Started: Essential Tools
Before you begin sewing, it’s important to gather the necessary tools. Here’s what you’ll need:
- Sewing Kit: Purchase a basic sewing kit that includes:
- Needles (assorted sizes)
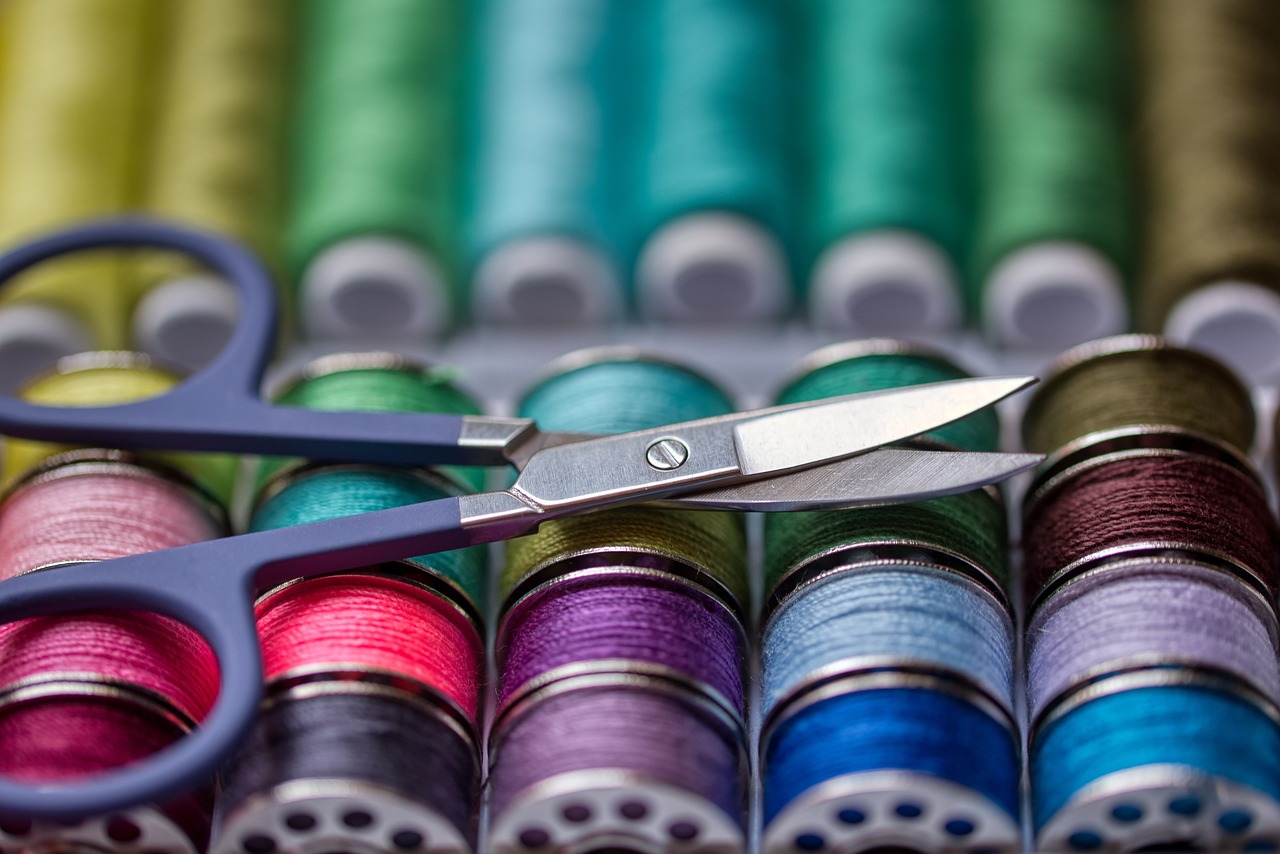
- Thread (basic colors like black, white, and gray are versatile)
- Scissors (small ones for cutting thread and fabric, and larger ones for cutting fabric)
- Pins (to hold fabric together while sewing)
- Seam ripper (for undoing stitches if needed)
- Tape measure (for measuring fabric and dimensions)
- Fabric: Start with simple fabrics like cotton or denim. You can find these at fabric stores or repurpose old clothes for practice.
- Pattern: If you’re following a specific project, make sure you have a pattern or instructions handy. For beginners, simple patterns like a pillowcase or a basic tote bag are ideal.
Basic Sewing Techniques
- Threading a Needle:
- Cut a piece of thread about 18 inches long.
- Hold the thread near the end and insert it through the eye of the needle.
- Tie a knot at the end of the thread.
- Basic Stitches:
- Running Stitch: This is the simplest stitch where you pass the needle in and out of the fabric.
- Backstitch: A stronger stitch used for seams where you sew backwards on the second stitch to reinforce it.
- Overcast Stitch: Used to finish raw fabric edges to prevent fraying.
- Sewing on a Button:
- Thread a needle and tie a knot at the end.
- Position the button where you want it and push the needle up through the fabric from the back.
- Sew through the buttonholes several times to secure it.
- Finish by tying a knot on the back of the fabric.
- Repairing a Tear:
- Pin the tear together to align the edges.
- Use a running stitch or a backstitch to sew along the tear, ensuring the stitches are close together for a strong hold.
- Knot the thread securely at the end and trim any excess.
Simple Sewing Projects
- Sew a Pillowcase:
- Cut two pieces of fabric (18″x18″ for a standard pillow).
- Place the fabrics right sides together and sew three sides together using a straight stitch.
- Turn the pillowcase inside out and insert a pillow form or stuffing.
- Hand-sew the open side closed using a slip stitch.
- Make a Drawstring Bag:
- Cut two rectangular pieces of fabric (12″x16″ for a small bag).
- Fold down the top edge of each piece and sew a straight line to create a casing for the drawstring.
- Place the pieces right sides together and sew the sides and bottom together.
- Turn the bag inside out and thread a string through the casing to create a drawstring closure.
- Hemming Pants:
- Try on the pants and fold the excess fabric to the desired length.
- Pin the fabric in place and iron it flat.
- Sew a straight line along the fold to secure the hem.
- Trim any excess fabric and iron the hem for a neat finish.
Tips for Success
- Practice Patience: Sewing requires patience and practice. Don’t get discouraged if your first project isn’t perfect.
- Take Your Time: Rushing can lead to mistakes. Take your time to measure, pin, and sew accurately.
- Learn from Mistakes: Mistakes are part of learning. If something goes wrong, use it as an opportunity to improve.
- Explore and Experiment: Once you’re comfortable with the basics, try more advanced projects or experiment with different fabrics and techniques.
Conclusion
Learning how to sew is not only practical but also empowering. It allows you to repair your clothes, express your creativity, and even save money. With the right tools, basic techniques, and a bit of practice, you can become proficient in sewing in no time. Start with simple projects and gradually challenge yourself with more complex ones. Before long, you’ll be creating unique pieces and confidently tackling any sewing task that comes your way. Happy sewing!
Remember, every stitch you make is a step towards mastering this valuable skill. Enjoy the process and have fun creating!